No time for blogging 🙁
I did quite some work on the van. It isn’t finished yet but I removed it from the workshop anyways because I’ll leave for the fusion festival today. So meet you there or you will hear from me in about a week.
Cheers, Andi

No time for blogging 🙁
I did quite some work on the van. It isn’t finished yet but I removed it from the workshop anyways because I’ll leave for the fusion festival today. So meet you there or you will hear from me in about a week.
Cheers, Andi
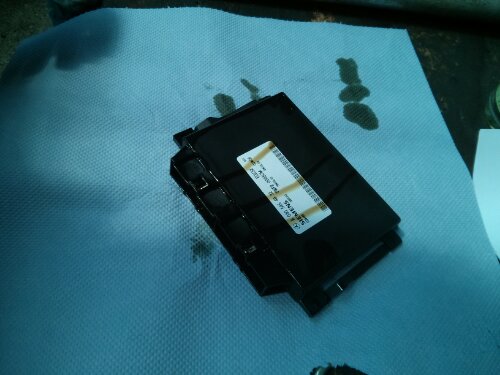
This head unit from a Merc W210 was completely filled with oil. The internet says it’s quite a common failure with these models, some seal breaks and some capillary witchcraft transports the oil along the wires. Weird.
Basically soldering wires together is a good idea. But just as with welding you either got to do it right or you should resort to another type of bonding (something with screws for example).
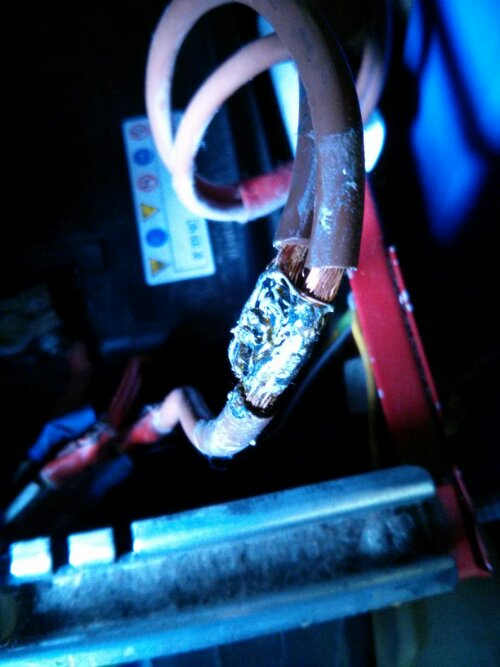
Connection between alternator and both batteries. Unfused.
I’m not quite sure how much current the gel acid battery can pull but certainly more than 50 amps. The wires are 5mm in diameter. A good joint is recognized by solder flowing in between the little wires and a flat & shiny surface. That’s because solder really flows like oil if it has the right temperature. Here the solder is only dabbed on top. To get a nice connection you have to heat up the copper to the melting point of the solder (close to 400 degrees Celsius). Since copper is really good in conducting heat you would need something like a little blowtorch to get such a cable to the right temperature. This would also ruin the insulation. In short: Do not try to solder thick wires. Use terminals. And don’t forget the cable end sleeves on screw terminals. They save lifes! If you just screw the wire in you will damage the little wires and by time the connection is so thin that it heats up and / or get’s disconnected. Since the whole body of a car is connected to ground / the batteries the loose cable just has to hit the metal to produce big sparks and to get really warm. Like red hot.
Let’s try to cut a long story short. The guy who sold me the new axle was wrong. It’s not for a 3.2 ton model but for a 2.8 which means smaller brakes (the body of the axle is the same). I was wrong as well. I forgot about the abs system of the van because it’s very rare on these models. So I had two good reasons to put the breaks from the old axle on the new one. Since somebody on the internet stated that the drive shafts are the same I thought I could use the old shafts with an ABS measurement ring in the new axle. This guy was wrong as well, the shafts are not the same.
The shafts from the right side are not really the same, the ones on the left side are totally different (no photo)
So I’m sitting on the floor of the workshop being sad. Let’s put all together just the way it was, return the axle to the seller and cut my losses in time and effort. Before I was getting really sad I returned home since it usually doesn’t look that bad at the next day.
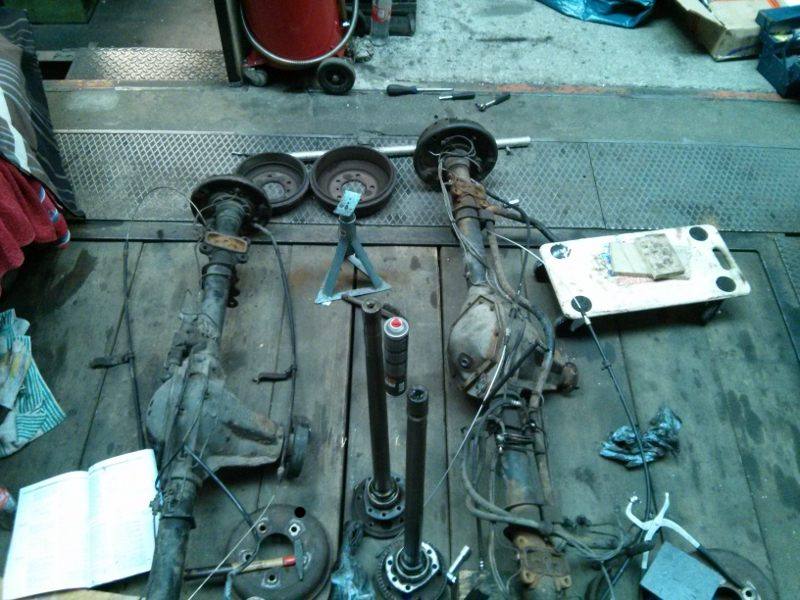
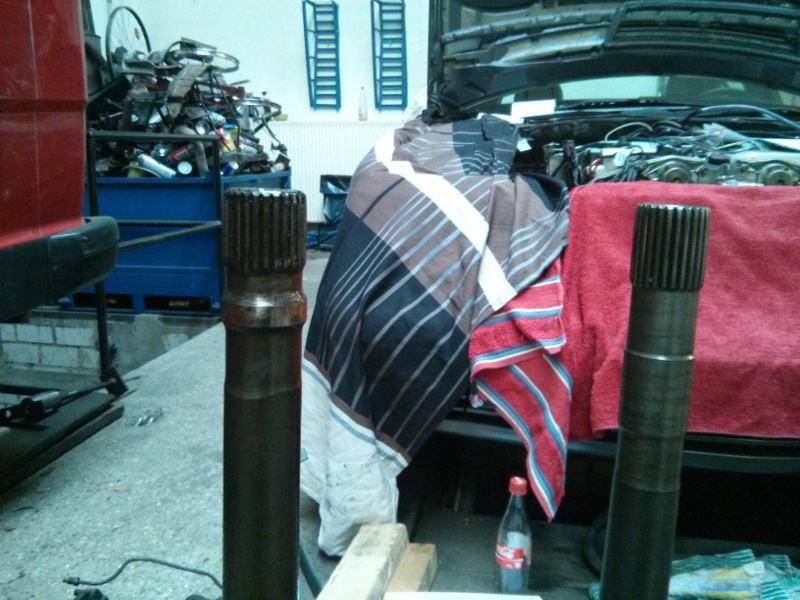
That’s what I left
The next day: Alright.I can’t switch the shafts. So the new shafts need ABS rings. There are only two problems. First the Axle has no seat for an ABS ring and second according to the Mercedes Electronic Parts Catalogue (EPC) the ABS Ring is not available as a part. The guy at the dealership said the same (hence using the same tool probably).

This picture shows the absence of an seat for an ABS ring. So there is nothing to be seen here. Yet…
So I decided I won’t try to remove the rings if I can’t get replacements. It’s common knowledge that the axles of the mercedes g-model (decent 4×4) are more or less the same as the ones in my van (merc T1). So I searched ebay for an ad with a picture of an driveshaft which resembles mine and is equipped with an ABS ring. Bingo! The G-(Sub)Model W463.225 has the same driveshafts by the looks of it. For this model the EPC lists an ABS ring which looks like mine and has the same inner diameter. What coincidence! Part Number A4633570051, 3 pieces of total stock in whole Germany, next day delivery, 120€ + tax. Alright. Expensive. But a risk I’m willing to take…
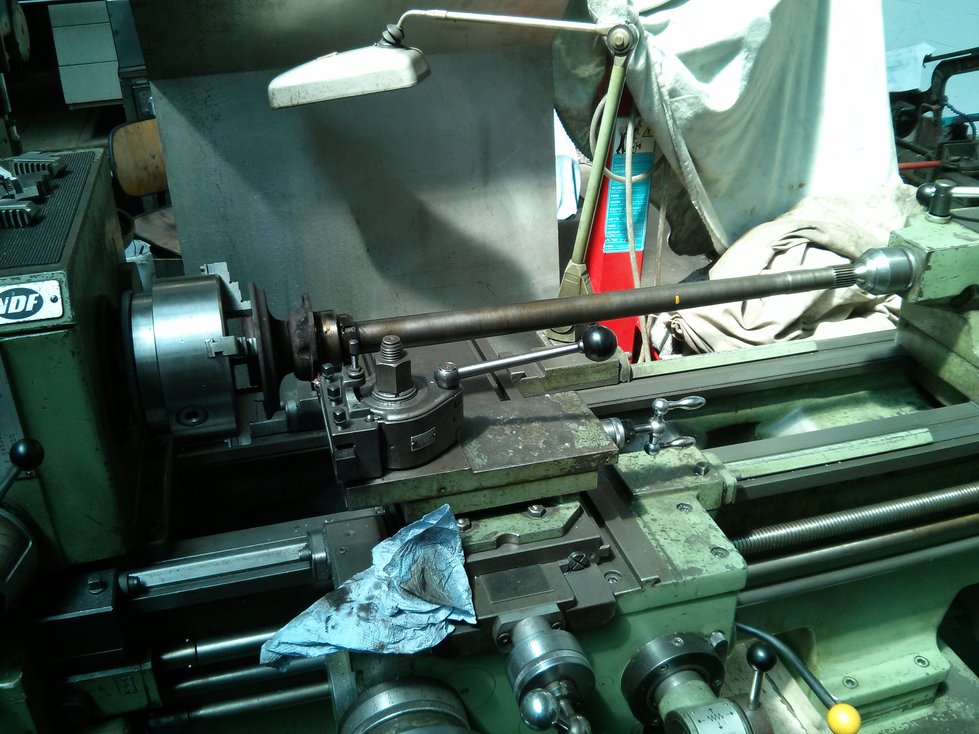
The driveshafts fits on the lathe…
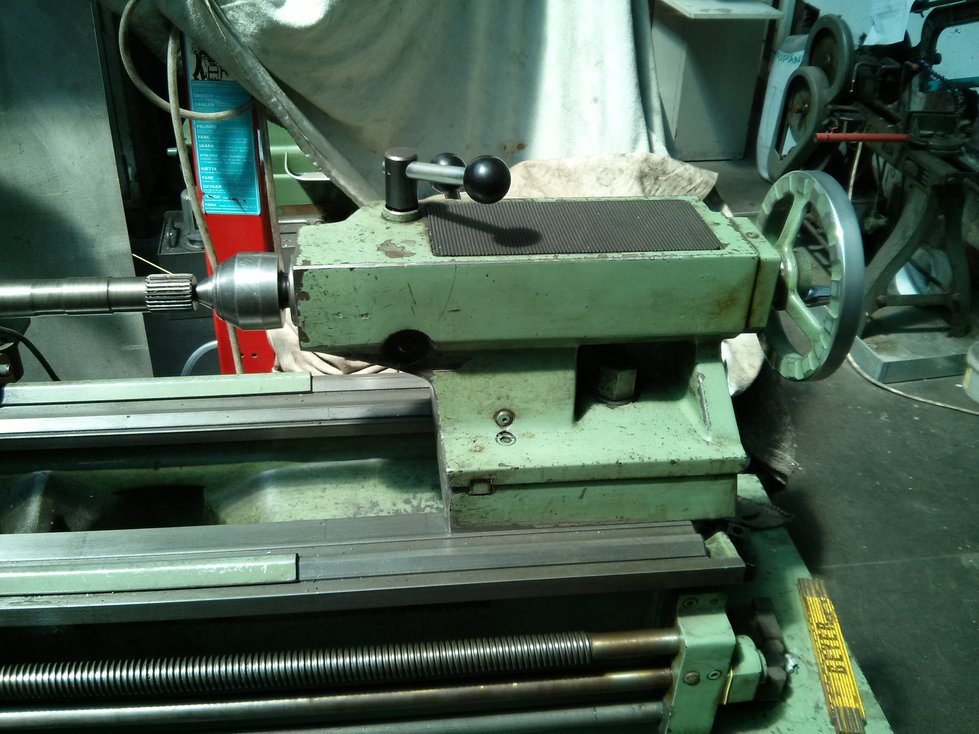
…but it’s a close call…
The save way to remove a ring like this is to apply pressure evenly. Heating is dangerous and difficult because you don’t want to overhead the ring and the shaft is pulling out the heat fast. A rear brake disc/drum combination from the junkpile makes the perfect piece for applying pressure. (After some machining). By the looks I’d guess it’s from a W124 or W201 Merc.
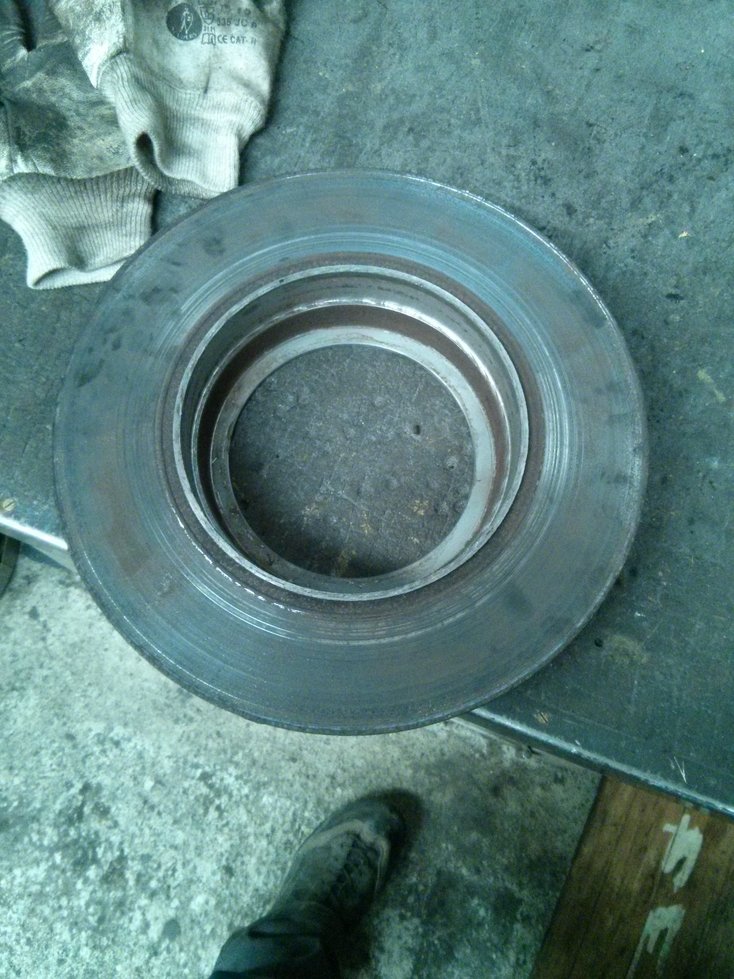
Custom build ABS Ring removal tool

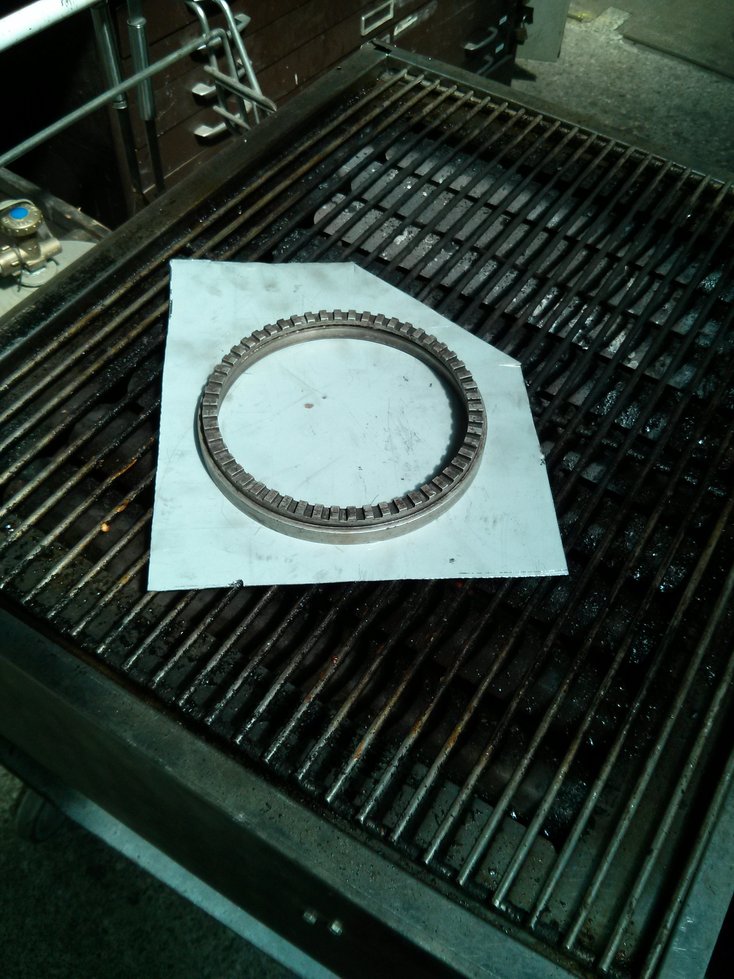
It just fits perfectly…

Apply some pressure, give it some gentle beating with a hammer until the ring slips, apply some pressure, beating, … until it falls off

The new seat for the ring
Heating the ring to make it wide enough to fit on the seat, BBQ Style

Old driveshaft vs. new one
I sold the Taro (“Muckelchen”) ten days ago and the station wagon went today. I will miss the latter bitterly, despite the small engine it really was a good ride. But next time I’ll buy one of these it will be a E220 or E280. The E220 has the same fuel economy as the E200 but some hp more and a much better torque diagram due to a self adjusting camshaft (or whatever you might call it in english…