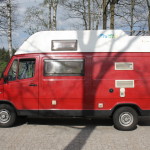
The world didn’t change much since I stopped working in Oldenburg. Instead of doing long hours over there I started to do long hours over here in the workshop. It’s weird how long stuff takes to be done. When I look at the photos I think it’s a couple of hours but it actually took a couple of days. But I didn’t take pictures of everything and especially gathering parts is quite time consuming.
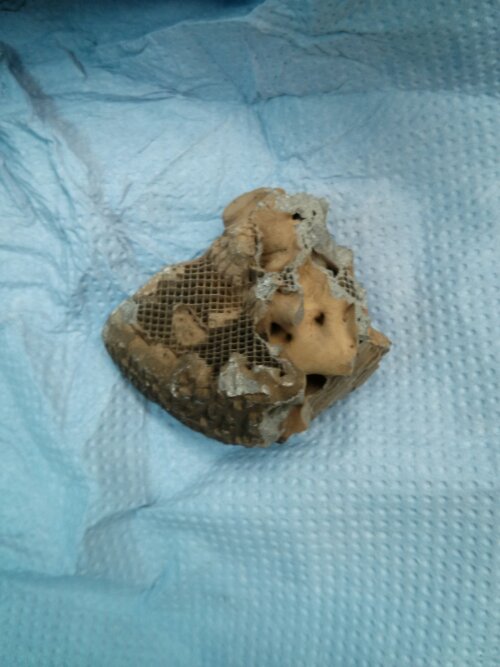
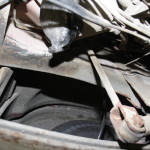
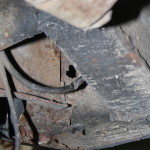
The disassembled gear lever assembly. The gearbox has three levers which go back and forth to switch gears and this box translates this in the classic H scheme (or dogleg in this case) on your shift stick.

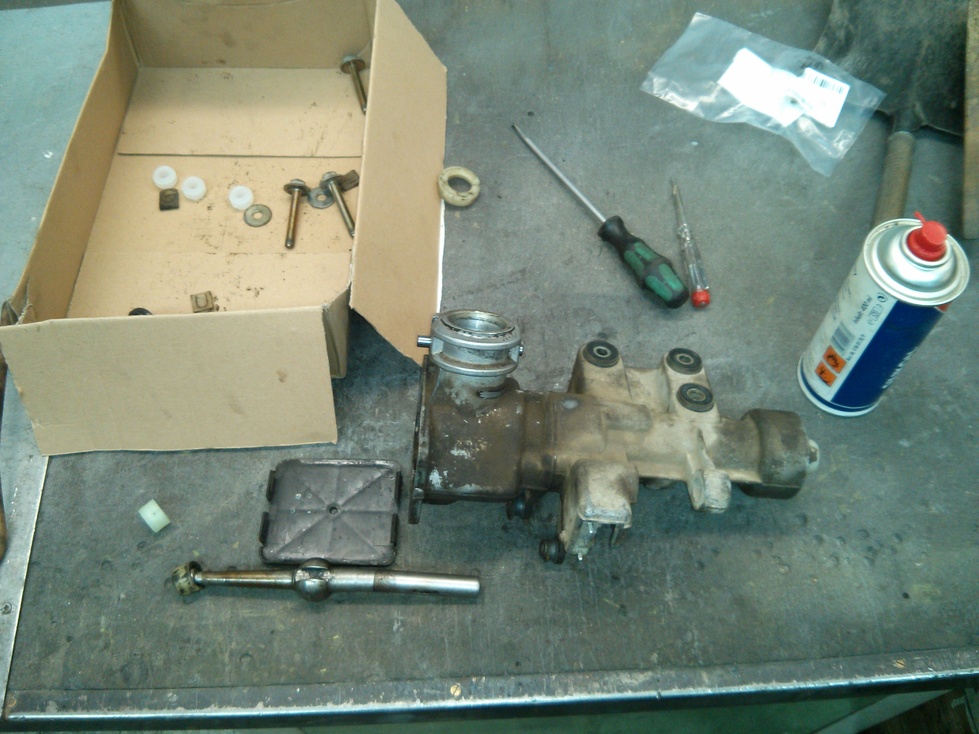
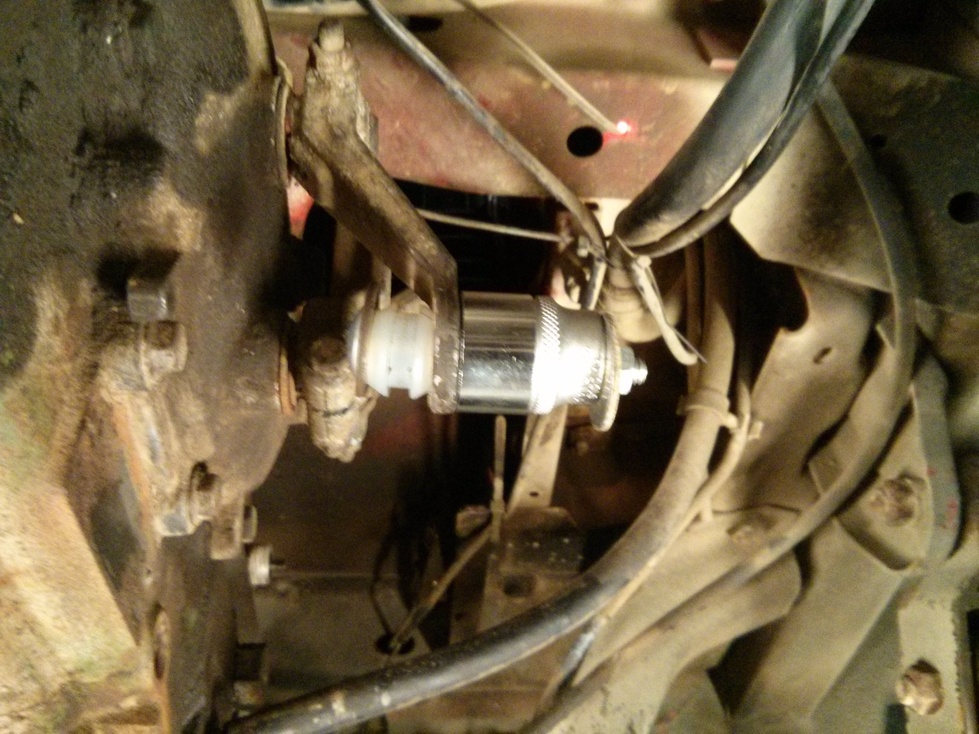
You can’t just push the plastic thing inside…
… because it is springloaded from the bottom…
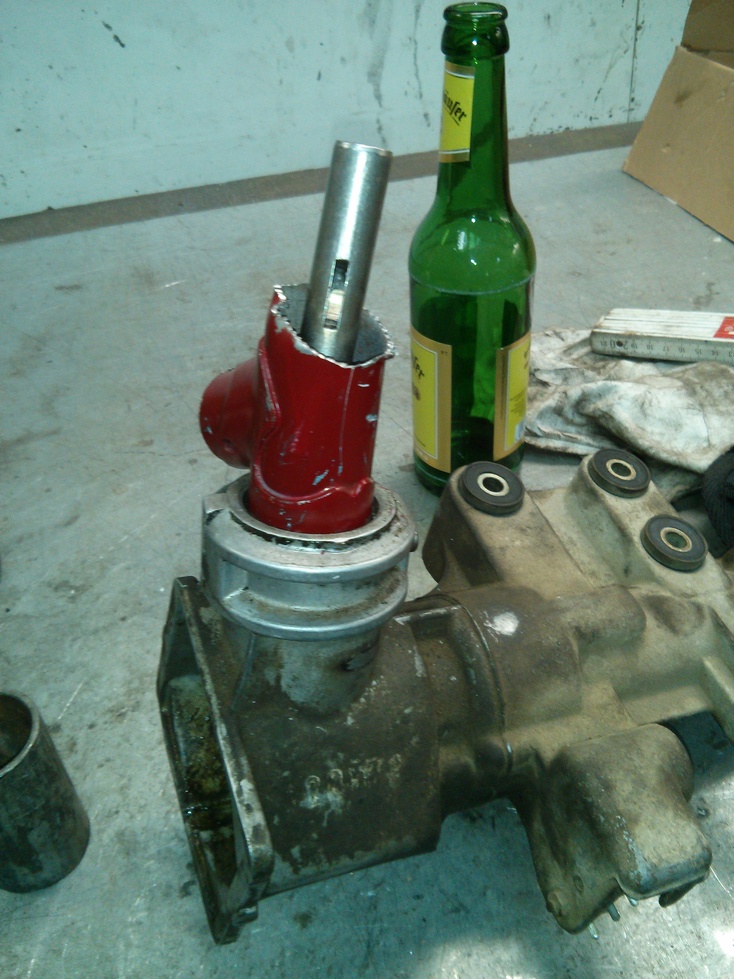
After some pressing and cursing I finally took a piece of pipe and hammered it in.
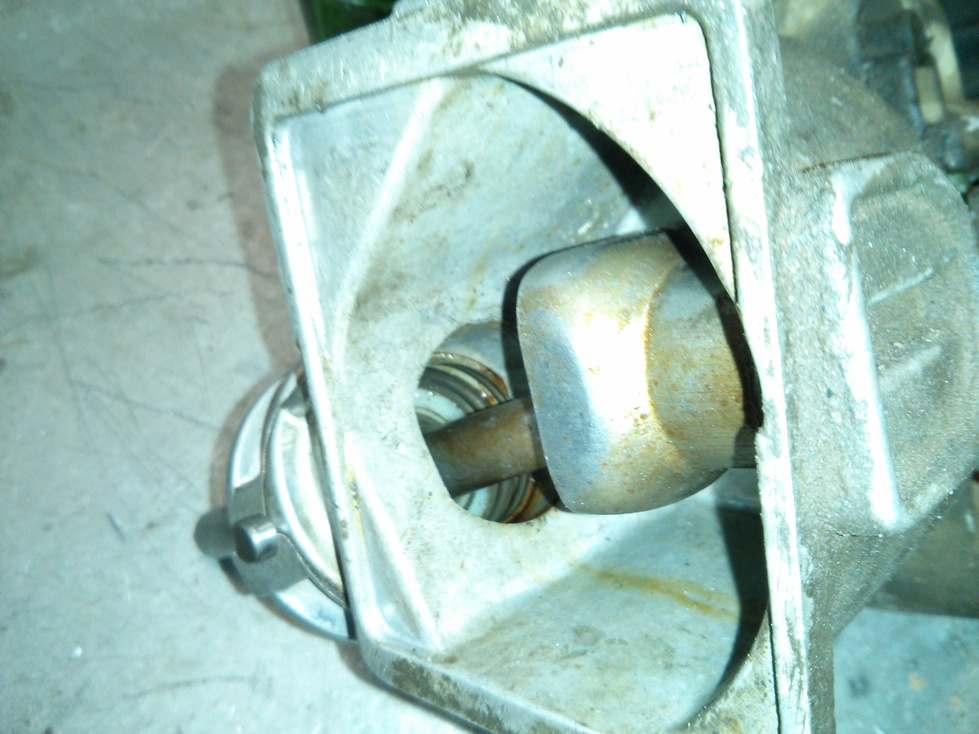
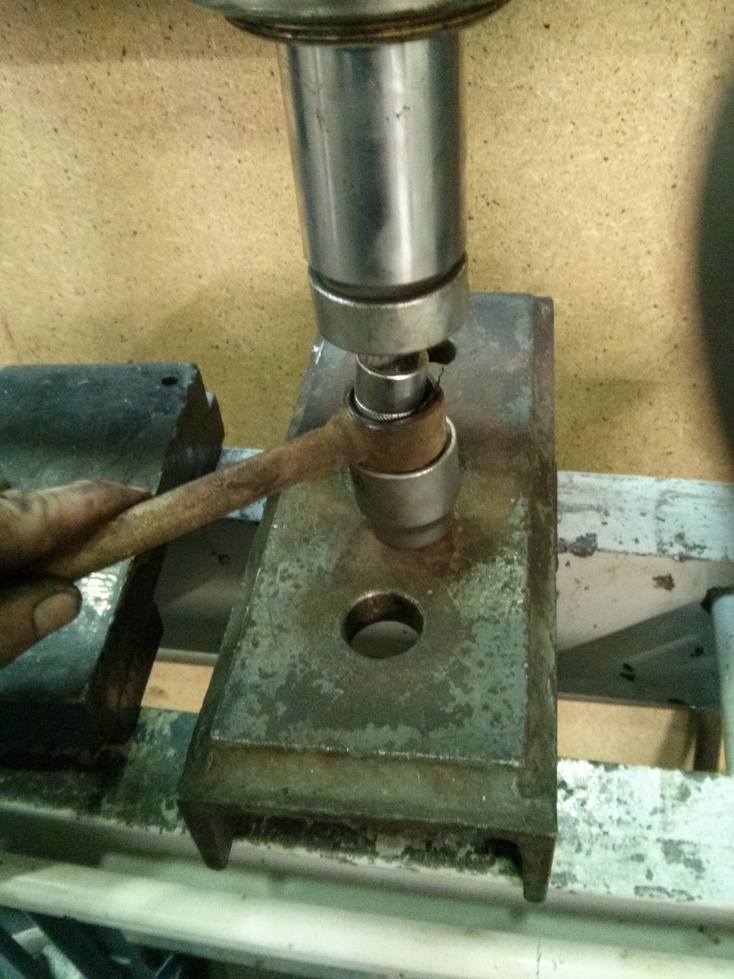
“special tool”
You can’t just push in the new plastic seats by hand so the easiest way is to “build” a special tool to press them in. From left to right: Head of a bolt, washer, plastic seat which should be pushed inside, gear lever with hole, socket with larger diameter than hole, washer, nut. Fasten nut until the plastic seat sits inside the hole. Watch out that you can remove the bolt afterwards because the of the hole gets smaller. I had to cut one bold to get it out after pressing…
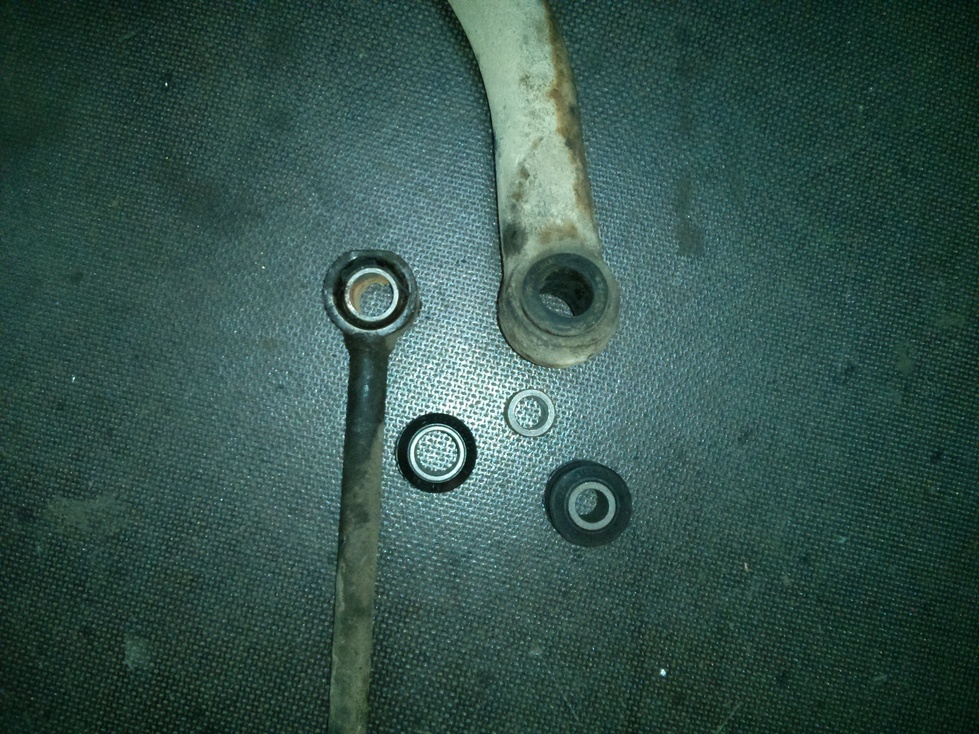
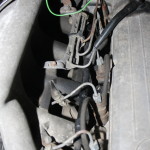
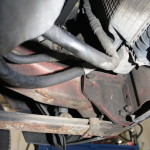
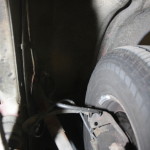
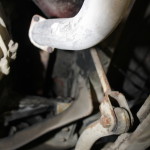
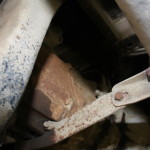
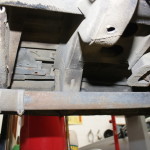
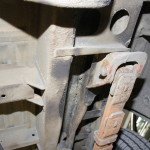
The anti roll bar mounts, old and new. If you can remove the rubber-metal joints by hand they are definitely worth replacing…
pushing out old ones…
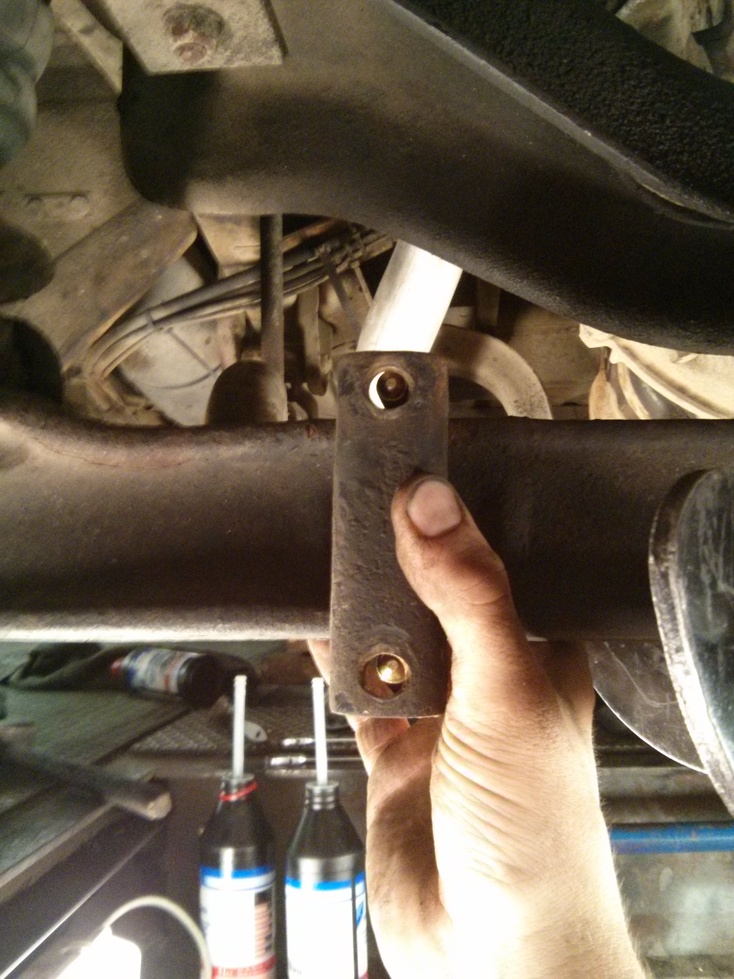
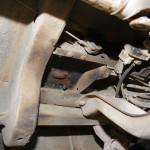
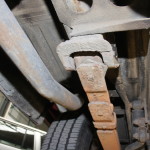
Thanks mister Mercedes! The new brackets for the anti roll bar are 5mm shorter than the old ones. Exactly these 5mm are needed to press together the rubber….
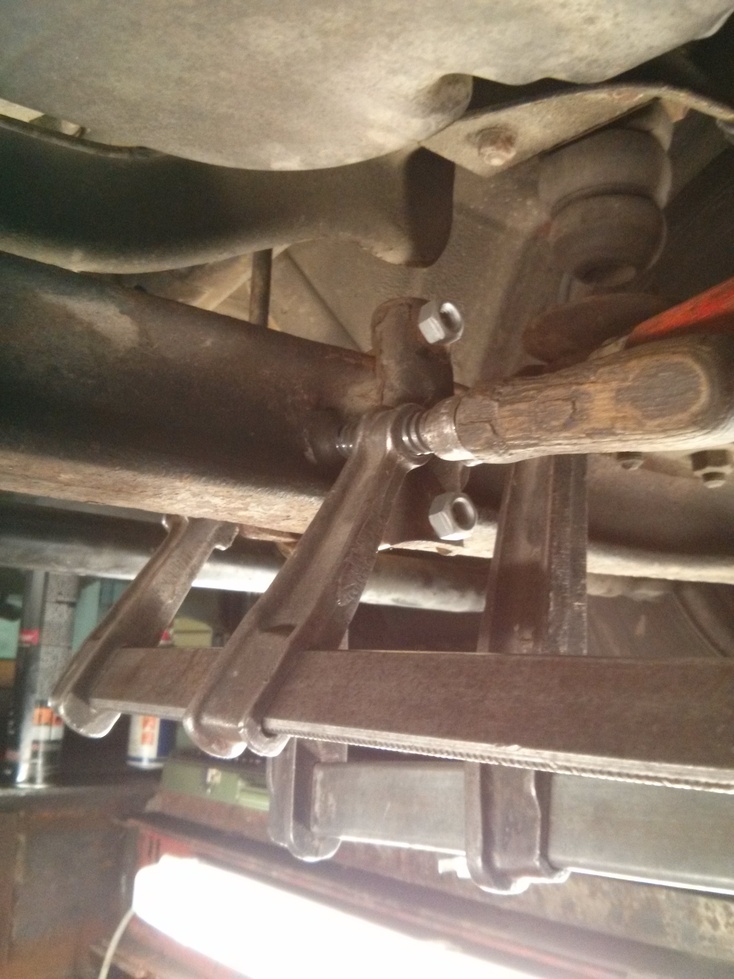
Just apply some brute force and than you can screw on the nuts…
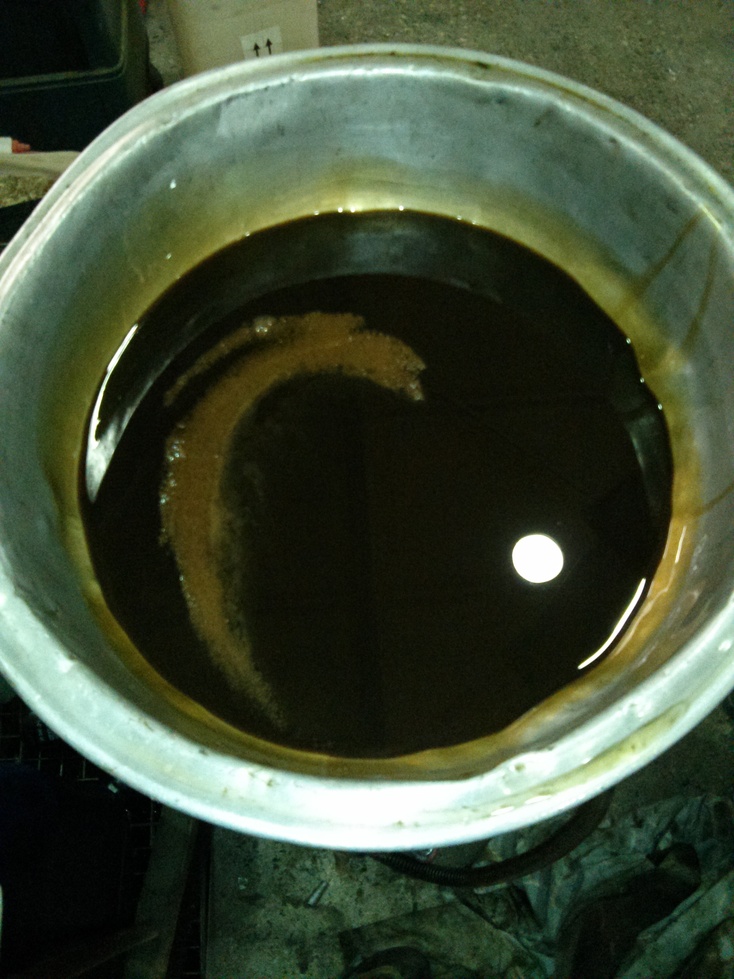
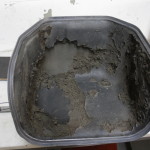
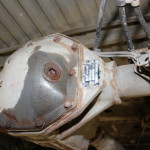
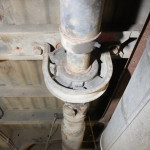
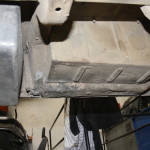
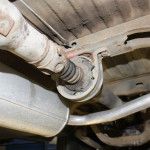
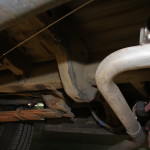
One of the worst smells available in an automotive workshop: old gearbox / differential oil.
The change of the gearbox and differential oil did not show any unusual signs of metal wear and tear. The gearbox had too much oil in it, the differential was missing at least a cm of oil level. Let’s hope that was the reason for the high pitched noise it makes in 5th gear. I’ll find out today…
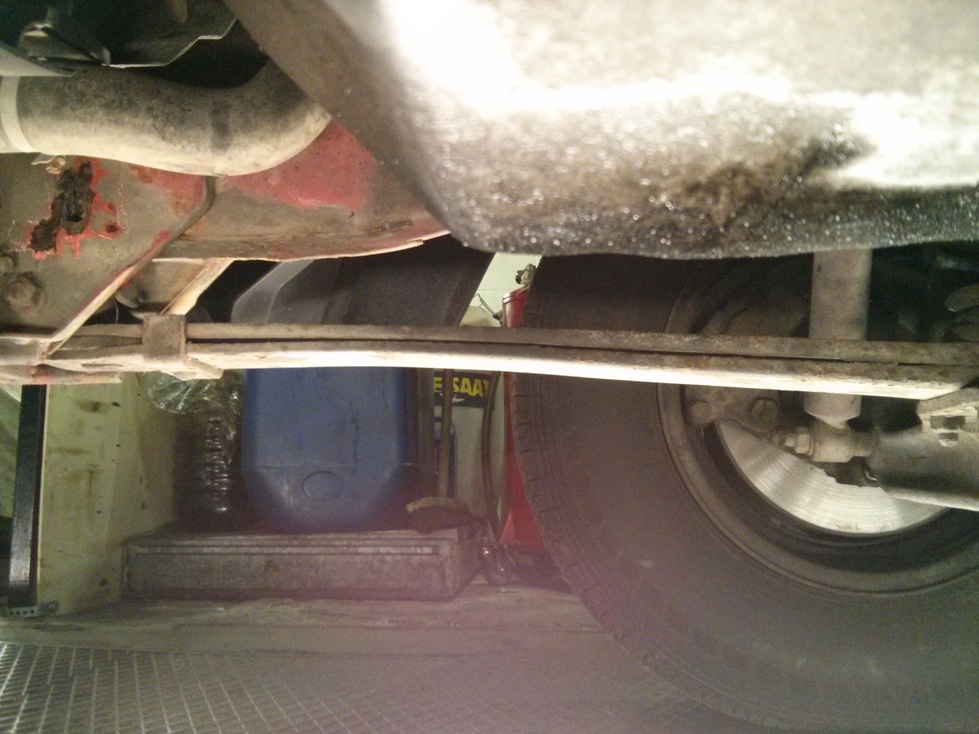
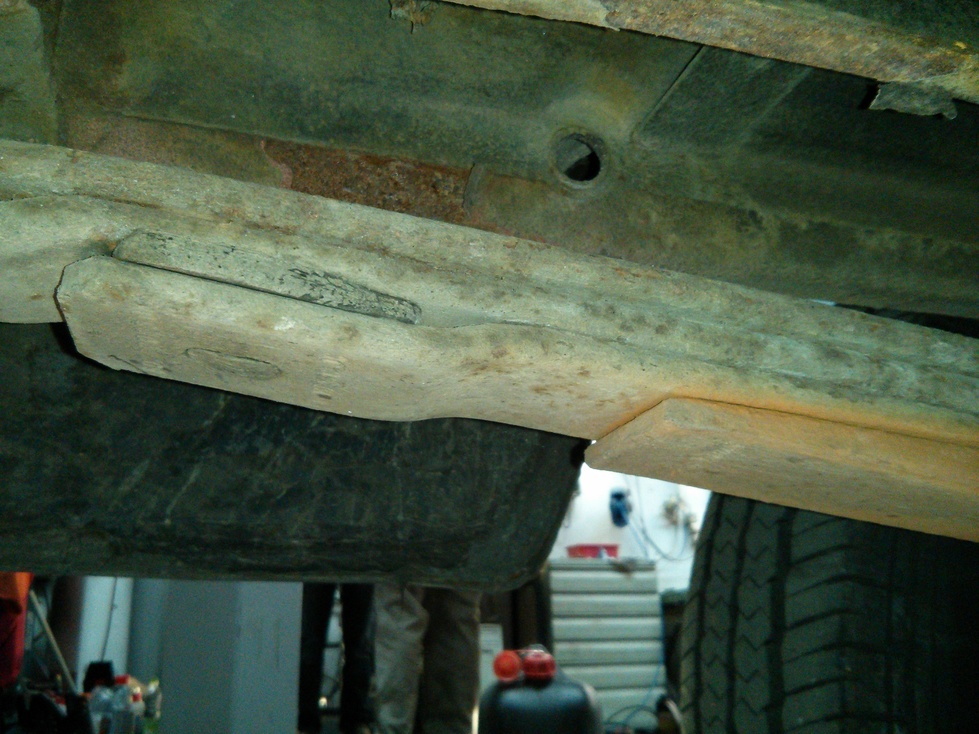
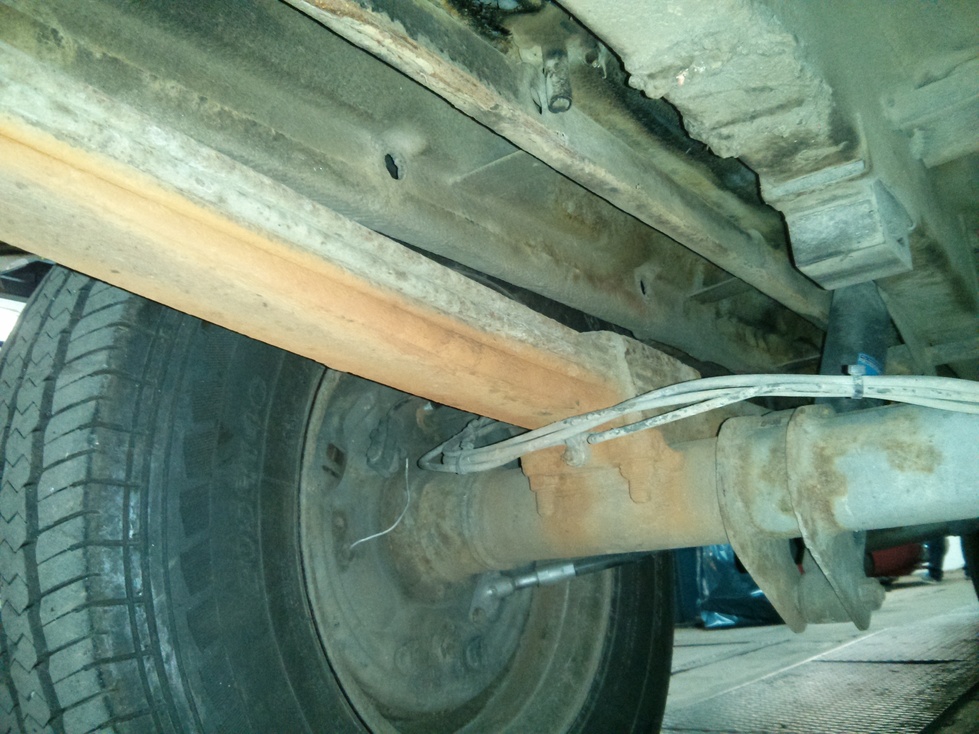
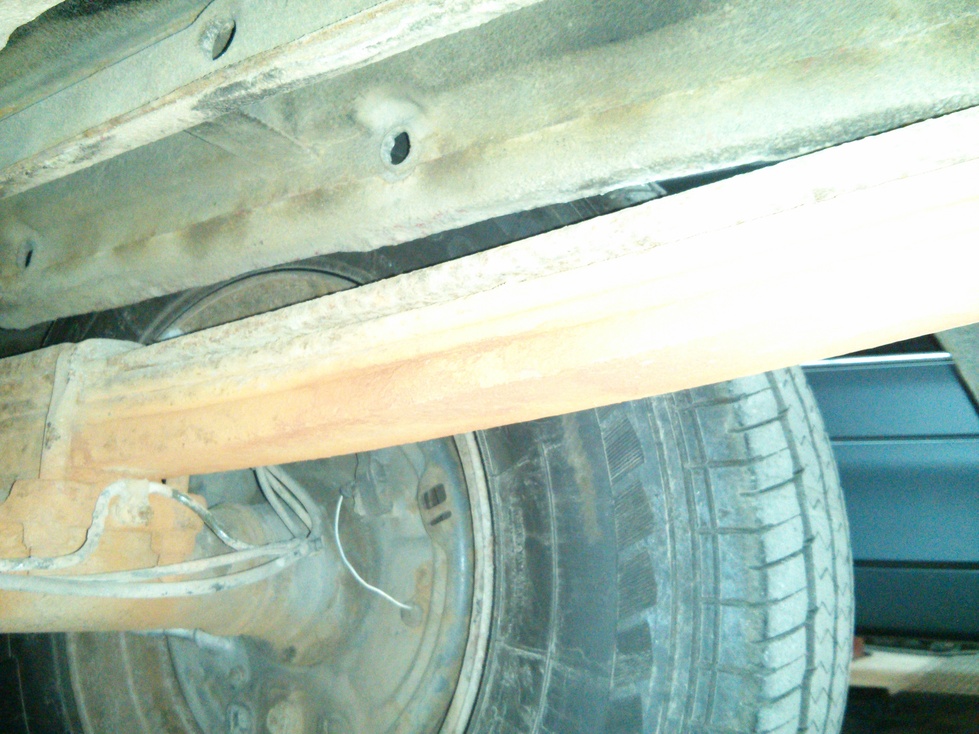
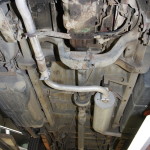
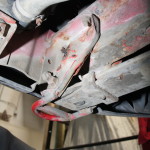
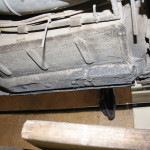
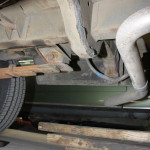
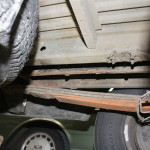
The next big step will be taking care of the leave springs.