Day #3

Odo: 282480
Location: Vättern Lake, west shore, between Gränna and Ödeshog

Another day of driving.If it wouldn’t be for meeting Debo in Stockholm I would have never set the pace that fast. The van isn’t made for munching up kilometres, it’s just too slow. And loud. In the australian desert I could do 700k per day easily, but here there’s plenty of stuff to see all around. And the falcon did cruise at 130kph with less than 2000rpm while the van is quite loud doing 95kph cruising speed.

I paid a short visit to “Germany” to shift the weight of my beer stash.

bauhaus

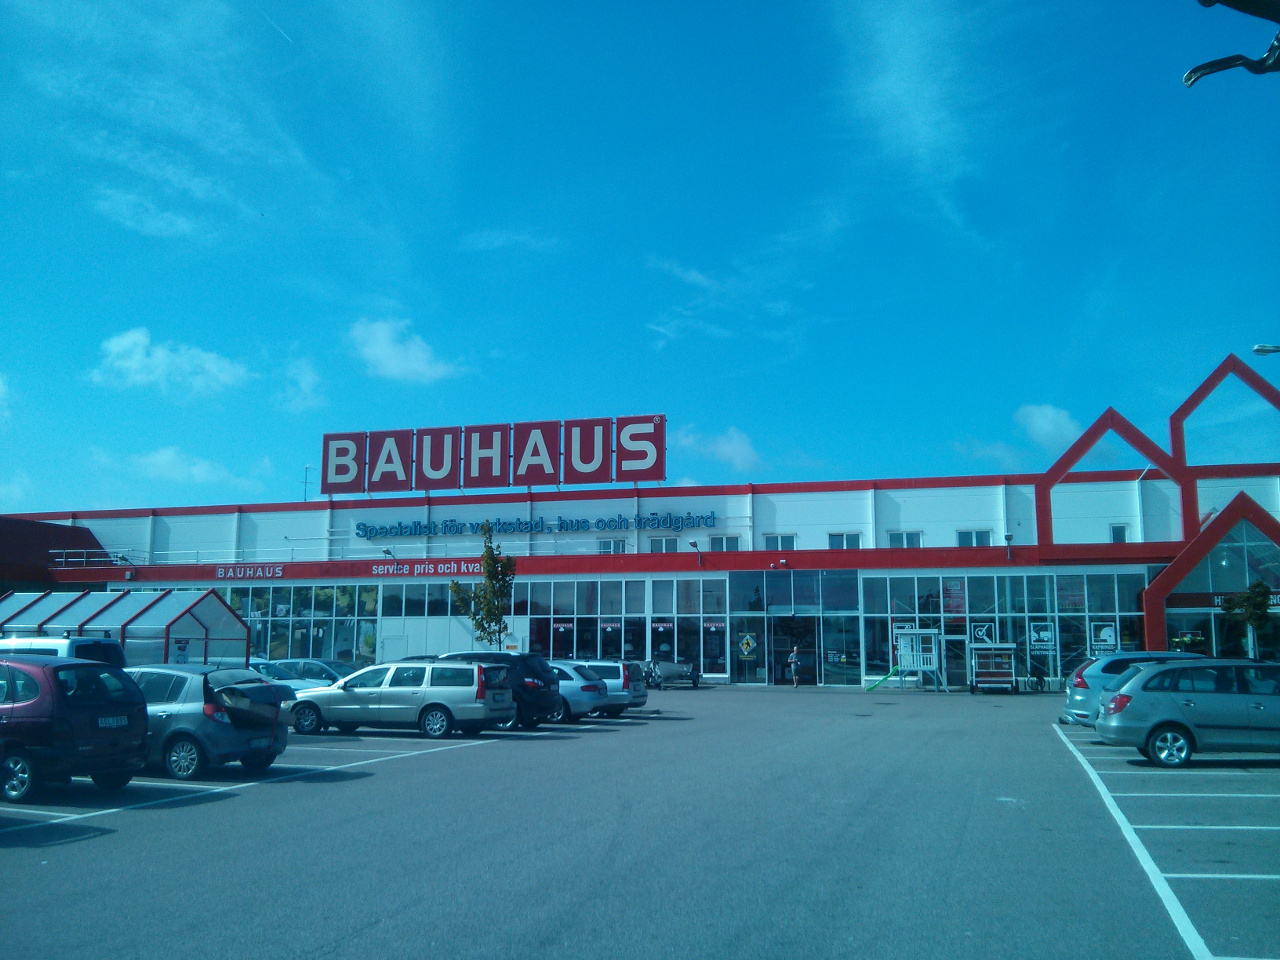
After Sweden conquered Germany with IKEA the Germans repaid the favour with Bauhaus, Familia and probably other big companies…

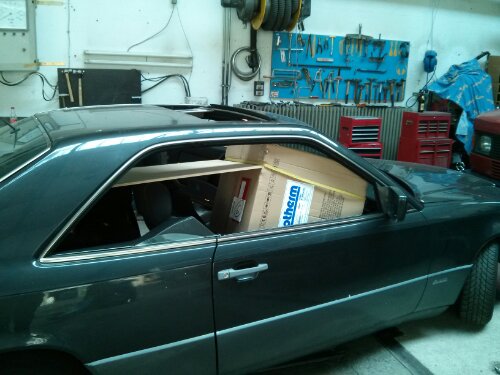
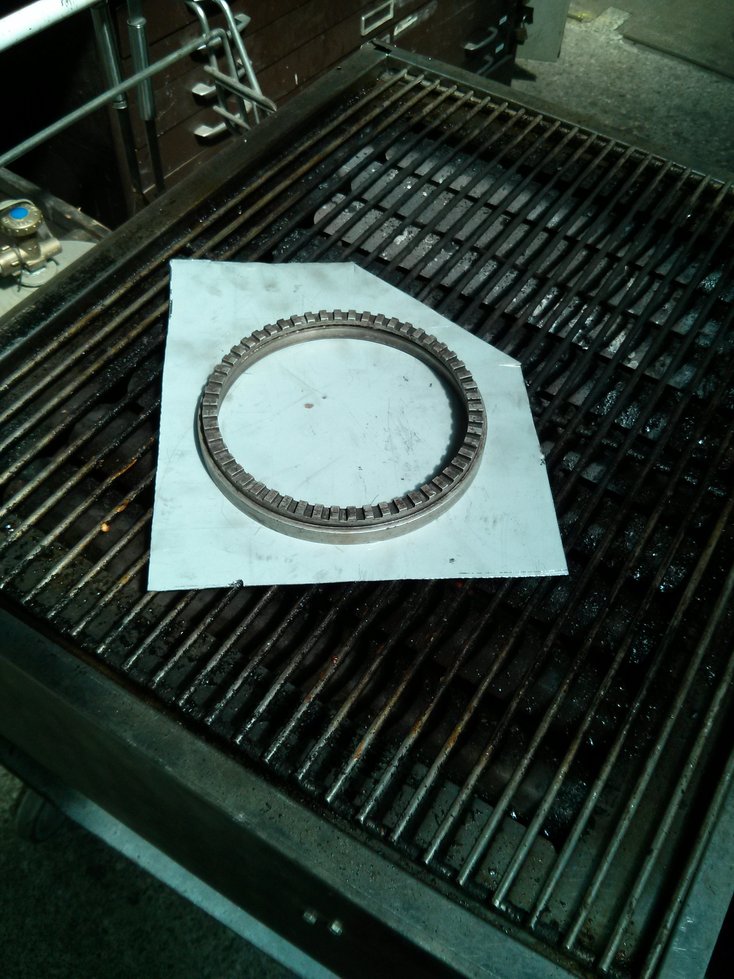
At first all beer was stacked in in the “bathroom” at the farmost corner on the left side behind the rear axle. Since the fresh&waste water tank and I are on the same side of the car it started pulling to the left while braking. So I sacrificed the second bed for beer. At Bauhaus you can buy a single piece of lumber, you grab some screws and pay the gross weight and they supply saws so that you can cut the wood in pieces that fit in your car. First use of the power drill.

bierbett

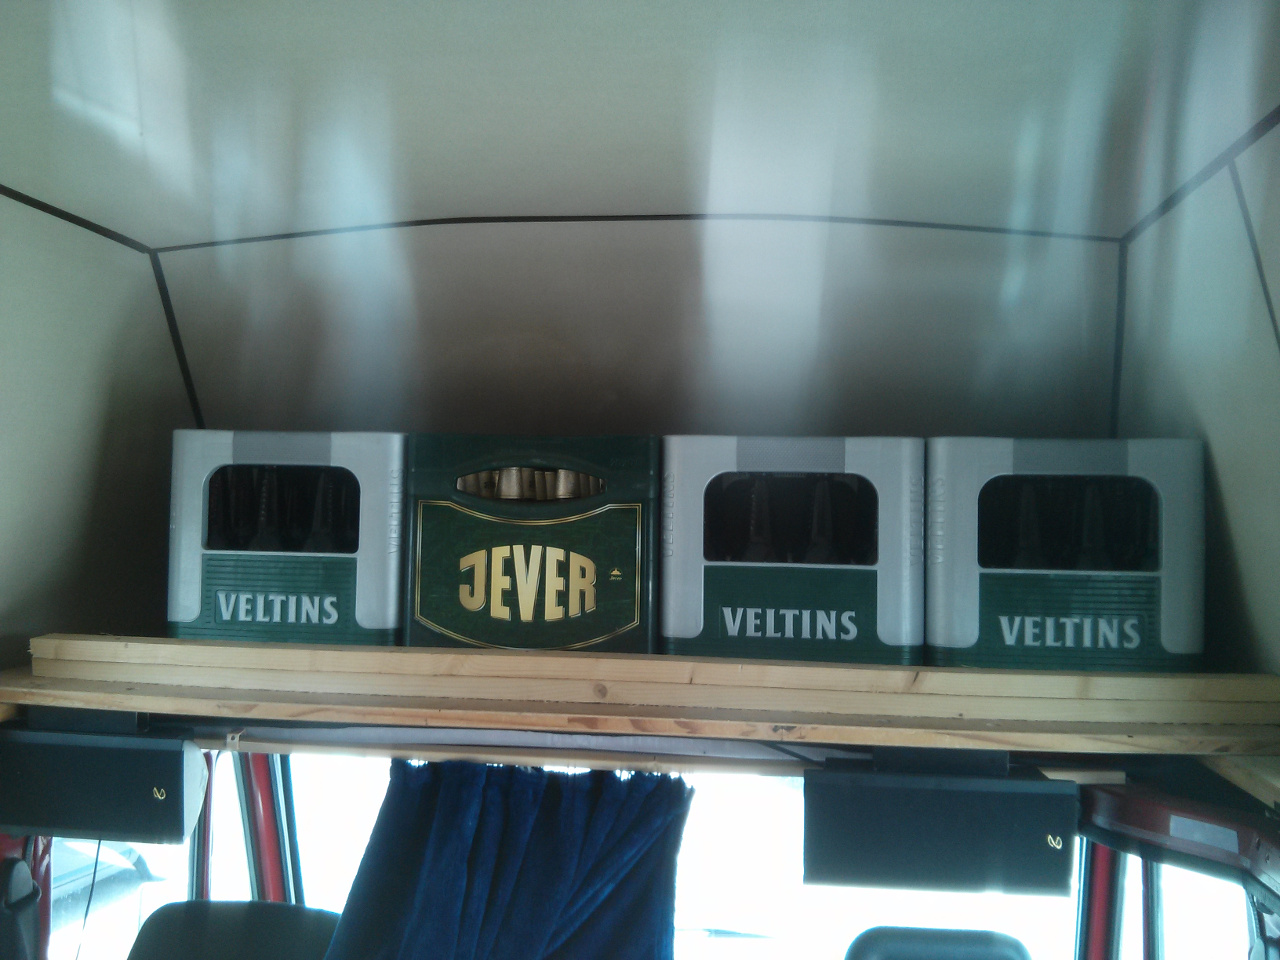
My precious… Securely held in place by three additional pieces of wood…

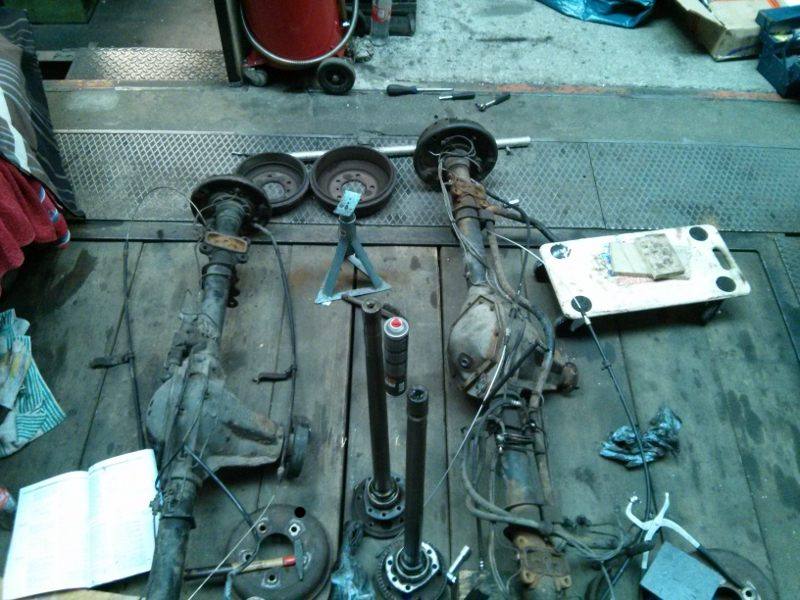
Lot’s of driving. No hitch-hikers. Stopped for a broken down Merc 190E 2.3 which overheated. The elderly couple was quite self sufficient filling it up with water and didn’t want no help so I drove on. Since it’s not that hot of a day and the M102 is a very reliable engine without heat issues I’d guess the sensor or the electric clutch for the fan probably is broken since the radiator was quite hot. Whatever, they neither fancied help nor did the want to find the cause of the problem. Depending on how far they have to go they’ll probably have to let the engine cool down for quite some time…

In the evening I met a nice couple from Austria with children and we spent quite some time talking. While they were bedding their three children I just sat by the sea enjoying a beer and “a clash of kings” as an ebook. Ebooks with backlight are really handy while watching a sunset…

IMG_6065

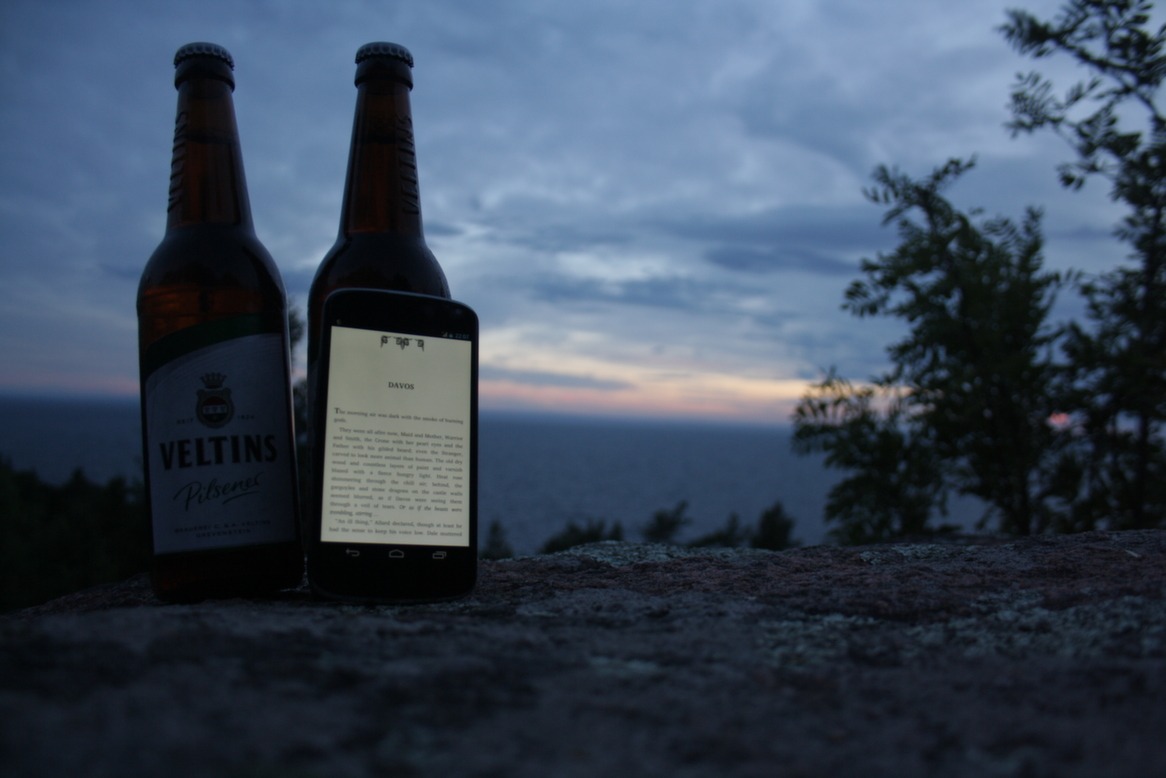
Vättern, Veltins and a good read which fits into the scenery… It starts feeling like holidays…

IMG_6070

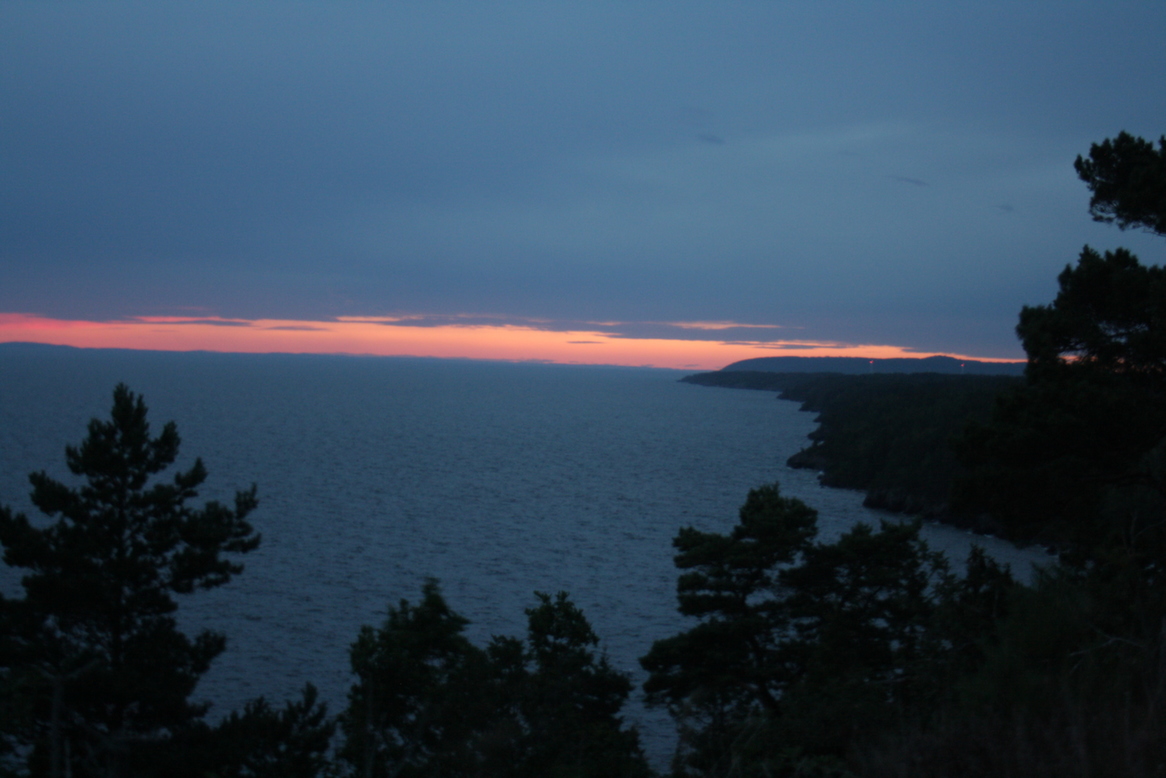
Different spot, same evening…


Wiring done wrong #3

Basically soldering wires together is a good idea. But just as with welding you either got to do it right or you should resort to another type of bonding (something with screws for example).

image

Connection between alternator and both batteries. Unfused.

I’m not quite sure how much current the gel acid battery can pull but certainly more than 50 amps. The wires are 5mm in diameter. A good joint is recognized by solder flowing in between the little wires and a flat & shiny surface. That’s because solder really flows like oil if it has the right temperature. Here the solder is only dabbed on top. To get a nice connection you have to heat up the copper to the melting point of the solder (close to 400 degrees Celsius). Since copper is really good in conducting heat you would need something like a little blowtorch to get such a cable to the right temperature. This would also ruin the insulation. In short: Do not try to solder thick wires. Use terminals. And don’t forget the cable end sleeves on screw terminals. They save lifes! If you just screw the wire in you will damage the little wires and by time the connection is so thin that it heats up and / or get’s disconnected. Since the whole body of a car is connected to ground / the batteries the loose cable just has to hit the metal to produce big sparks and to get really warm. Like red hot.


I gotta be am nuts…

Let’s try to cut a long story short. The guy who sold me the new axle was wrong. It’s not for a 3.2 ton model but for a 2.8 which means smaller brakes (the body of the axle is the same). I was wrong as well. I forgot about the abs system of the van because it’s very rare on these models. So I had two good reasons to put the breaks from the old axle on the new one. Since somebody on the internet stated that the drive shafts are the same I thought I could use the old shafts with an ABS measurement ring in the new axle. This guy was wrong as well, the shafts are not the same.

IMG_20130603_183849

The shafts from the right side are not really the same, the ones on the left side are totally different (no photo)

So I’m sitting on the floor of the workshop being sad. Let’s put all together just the way it was, return the axle to the seller and cut my losses in time and effort. Before I was getting really sad I returned home since it usually doesn’t look that bad at the next day.

IMG_20130603_185230

That’s what I left

The next day: Alright.I can’t switch the shafts. So the new shafts need ABS rings. There are only two problems. First the Axle has no seat for an ABS ring and second according to the Mercedes Electronic Parts Catalogue (EPC) the ABS Ring is not available as a part. The guy at the dealership said the same (hence using the same tool probably).

IMG_20130603_184037.jpgs

This picture shows the absence of an seat for an ABS ring. So there is nothing to be seen here. Yet…

So I decided I won’t try to remove the rings if I can’t get replacements. It’s common knowledge that the axles of the mercedes g-model (decent 4×4) are more or less the same as the ones in my van (merc T1). So I searched ebay for an ad with a picture of an driveshaft which resembles mine and is equipped with an ABS ring. Bingo! The G-(Sub)Model W463.225 has the same driveshafts by the looks of it. For this model the EPC lists an ABS ring which looks like mine and has the same inner diameter. What coincidence! Part Number A4633570051, 3 pieces of total stock in whole Germany, next day delivery, 120€ + tax. Alright. Expensive. But a risk I’m willing to take…

IMG_20130604_130150.jpgs

The driveshafts fits on the lathe…

IMG_20130604_130200.jpgs

…but it’s a close call…

The save way to remove a ring like this is to apply pressure evenly. Heating is dangerous and difficult because you don’t want to overhead the ring and the shaft is pulling out the heat fast. A rear brake disc/drum combination from the junkpile makes the perfect piece for applying pressure. (After some machining). By the looks I’d guess it’s from a W124 or W201 Merc.

IMG_20130604_154153.jpgs

Custom build ABS Ring removal tool

IMG_20130604_132822.jpgs

It just fits perfectly…

IMG_20130604_134313.jpgs

Apply some pressure, give it some gentle beating with a hammer until the ring slips, apply some pressure, beating, … until it falls off

IMG_20130604_141855.jpgs

The new seat for the ring

IMG_20130604_145055.jpgs

Heating the ring to make it wide enough to fit on the seat, BBQ Style

IMG_20130604_194313.jpgs

Old driveshaft vs. new one