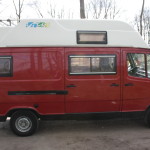
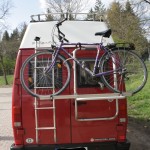
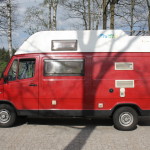
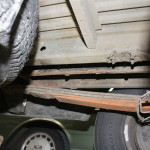
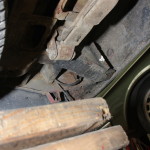
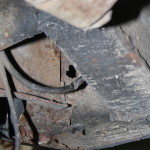
I sold the Taro (“Muckelchen”) ten days ago and the station wagon went today. I will miss the latter bitterly, despite the small engine it really was a good ride. But next time I’ll buy one of these it will be a E220 or E280. The E220 has the same fuel economy as the E200 but some hp more and a much better torque diagram due to a self adjusting camshaft (or whatever you might call it in english…
Category Archives: Tech
I gotta be nuts…
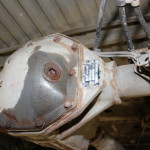
As usual when I begin a new project with a tight schedule I start with something which is plenty of work, expensive and of limited use. After getting bogged at the Meierei I was lucky to find a guy who will deliver an rear axle with a better transmission ratio and (drumroll) a locking differential. If you don’t know what a locking differential is and/or you want to see a good explanation watch this video (warning, long intro). Now I am really exhausted, working on vans really is like working out in the gym…
Working on the 310D
The world didn’t change much since I stopped working in Oldenburg. Instead of doing long hours over there I started to do long hours over here in the workshop. It’s weird how long stuff takes to be done. When I look at the photos I think it’s a couple of hours but it actually took a couple of days. But I didn’t take pictures of everything and especially gathering parts is quite time consuming.
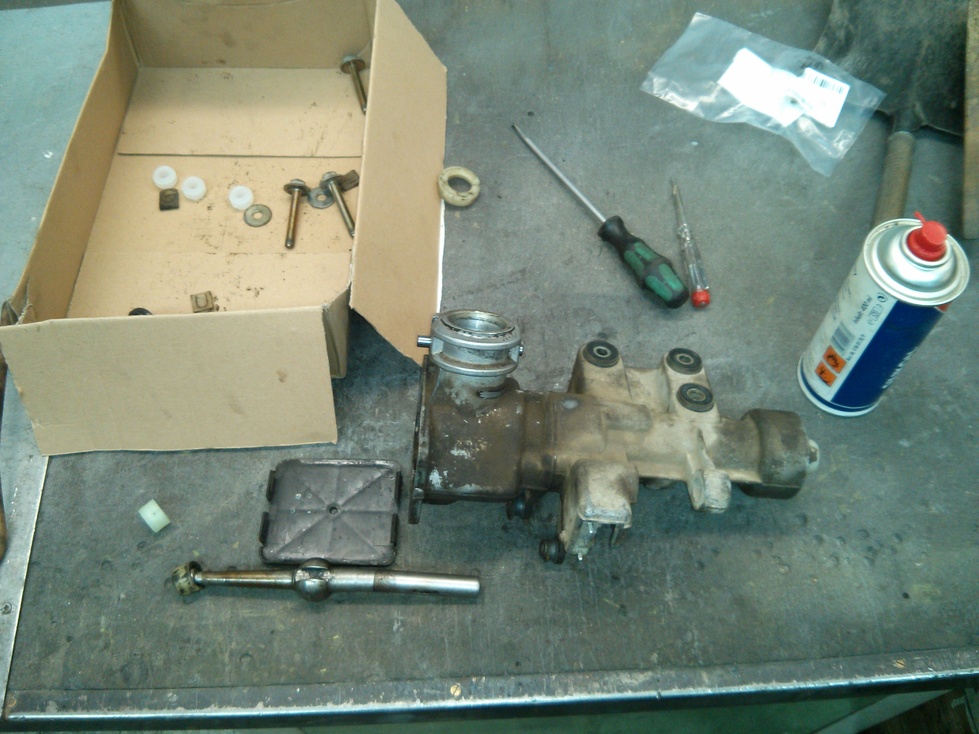
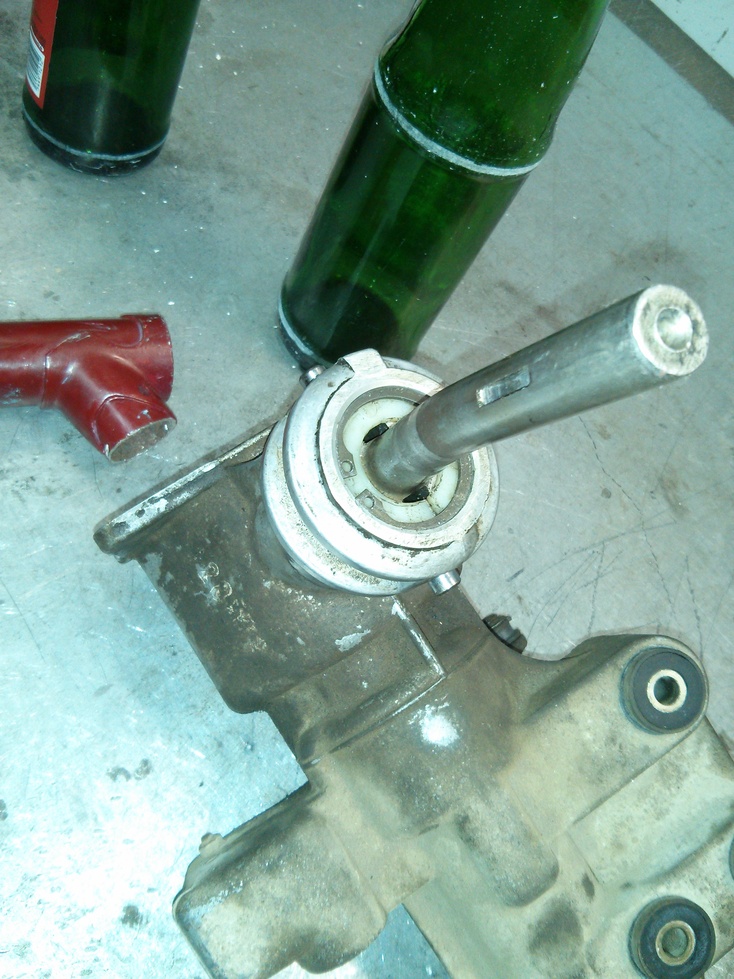
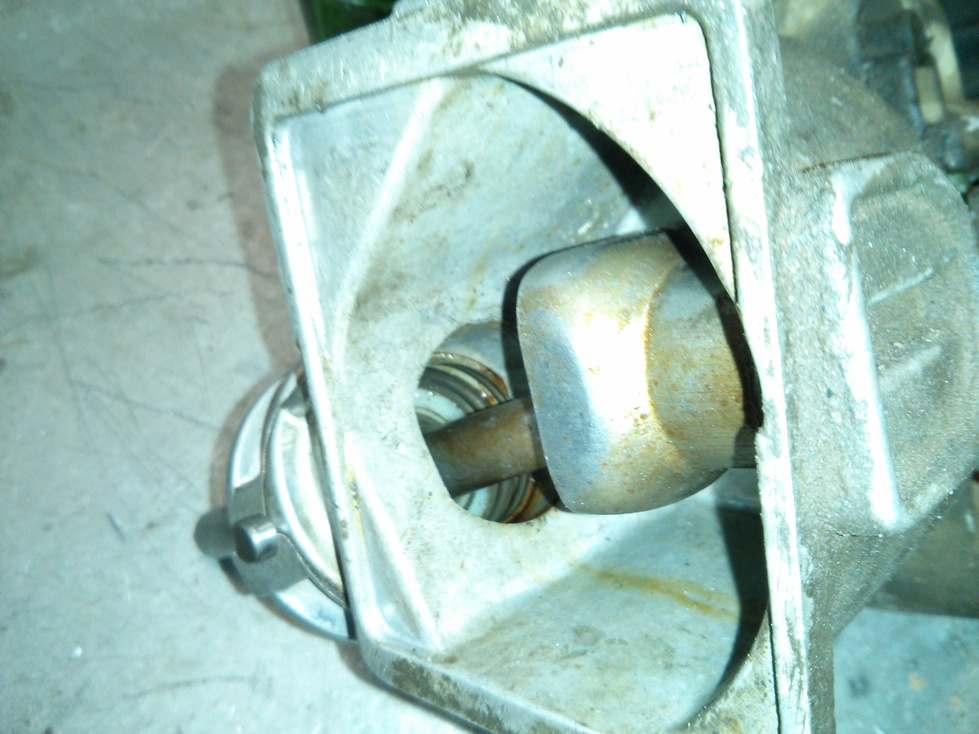
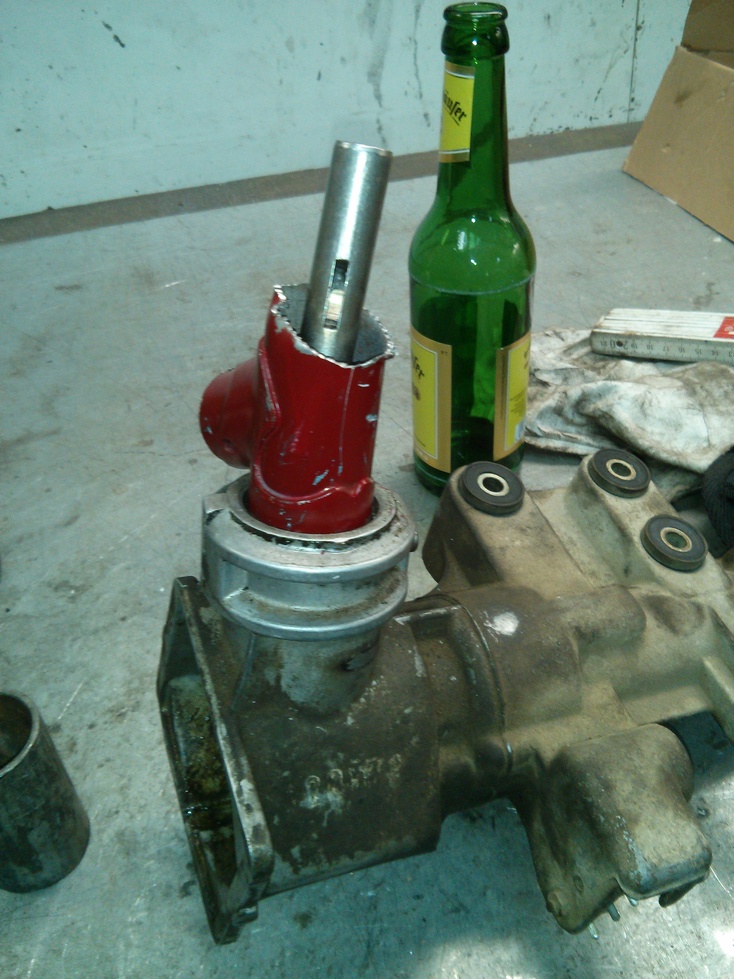
The disassembled gear lever assembly. The gearbox has three levers which go back and forth to switch gears and this box translates this in the classic H scheme (or dogleg in this case) on your shift stick.
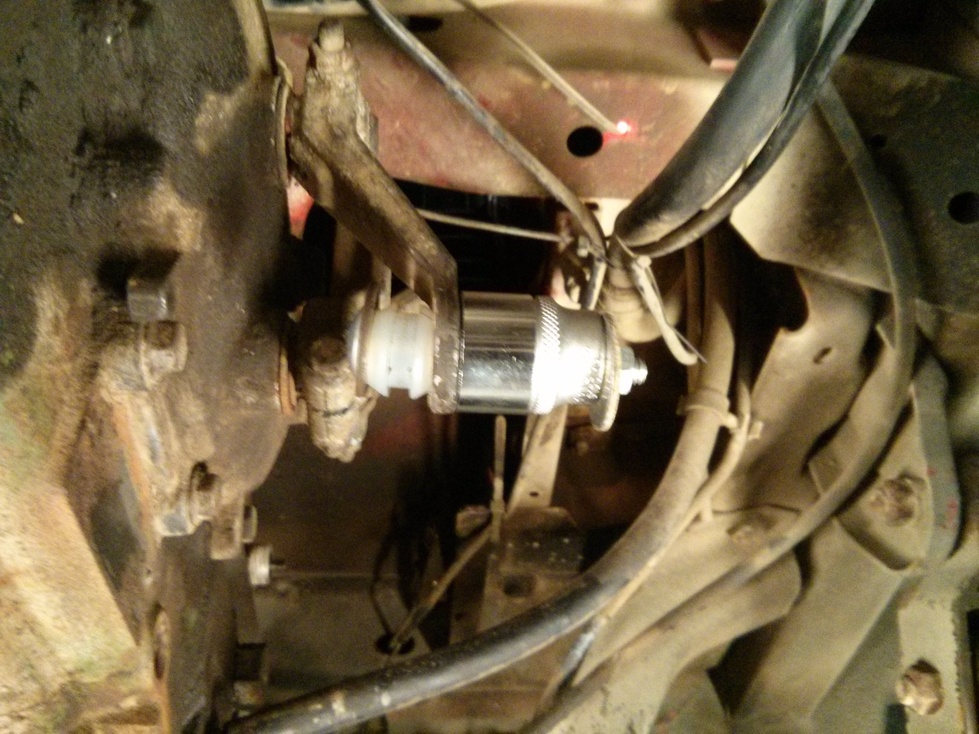
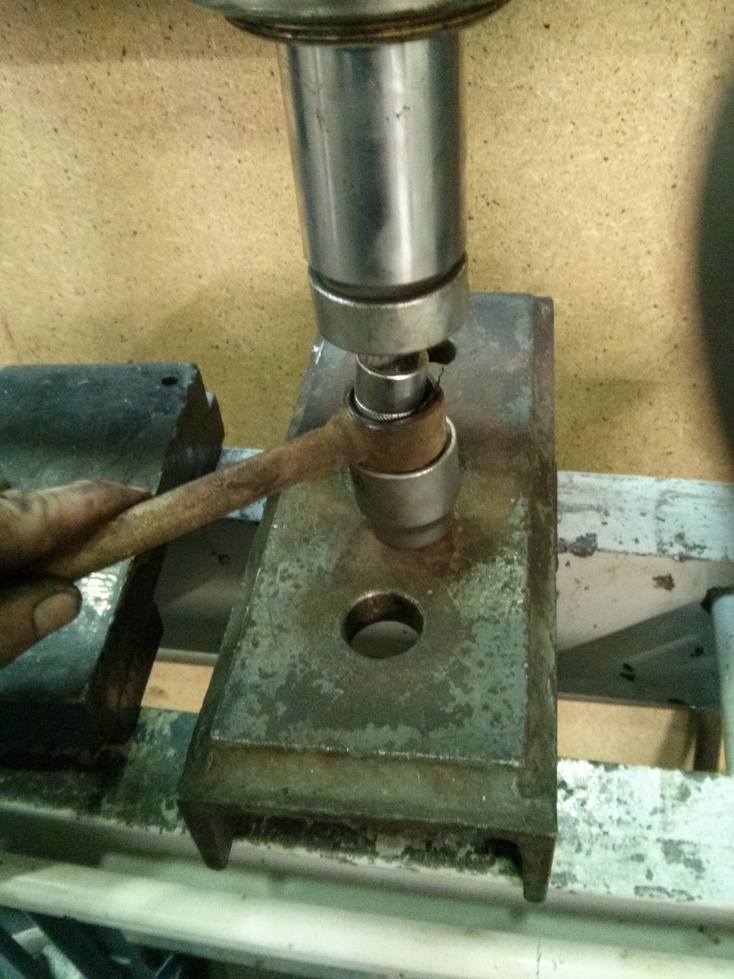
You can’t just push in the new plastic seats by hand so the easiest way is to “build” a special tool to press them in. From left to right: Head of a bolt, washer, plastic seat which should be pushed inside, gear lever with hole, socket with larger diameter than hole, washer, nut. Fasten nut until the plastic seat sits inside the hole. Watch out that you can remove the bolt afterwards because the of the hole gets smaller. I had to cut one bold to get it out after pressing…
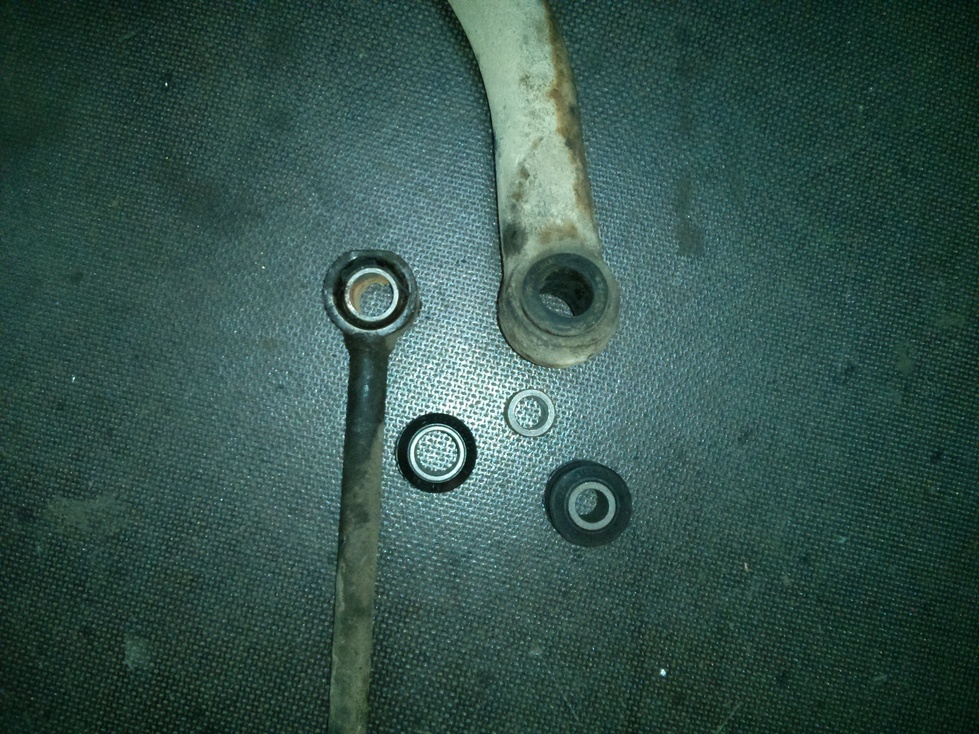
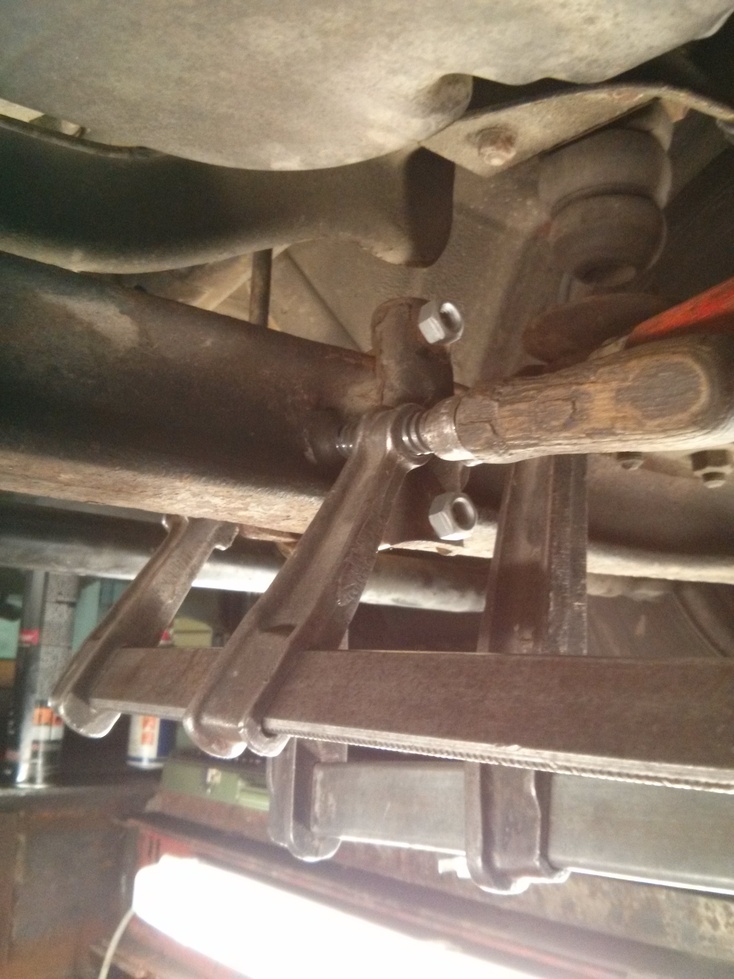
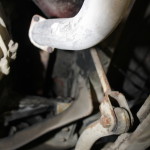
The anti roll bar mounts, old and new. If you can remove the rubber-metal joints by hand they are definitely worth replacing…
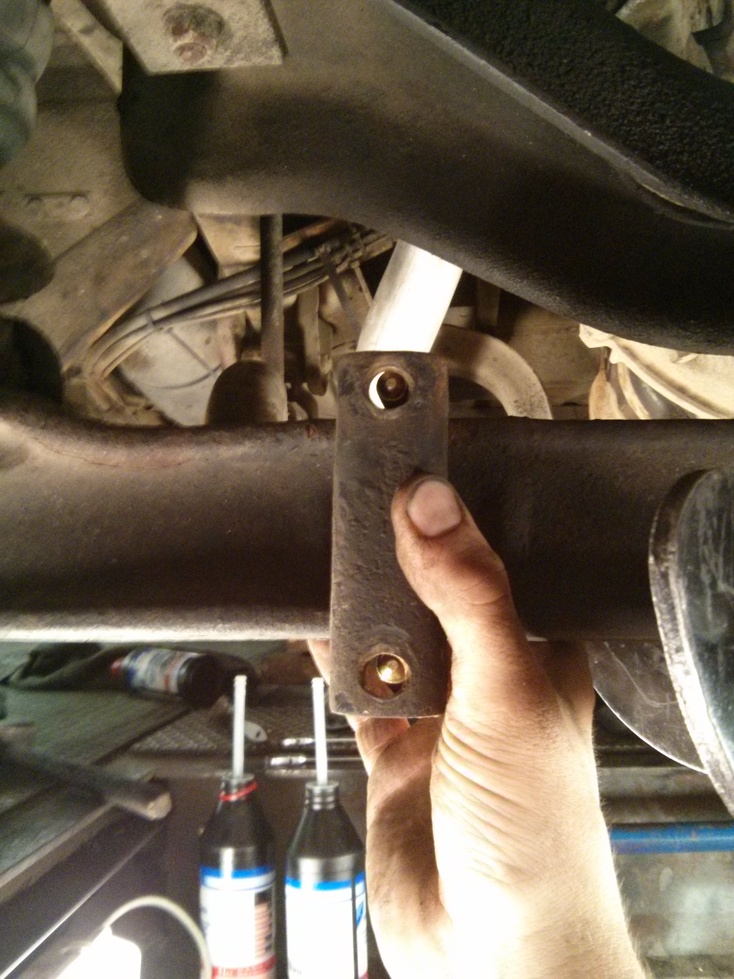
Thanks mister Mercedes! The new brackets for the anti roll bar are 5mm shorter than the old ones. Exactly these 5mm are needed to press together the rubber….
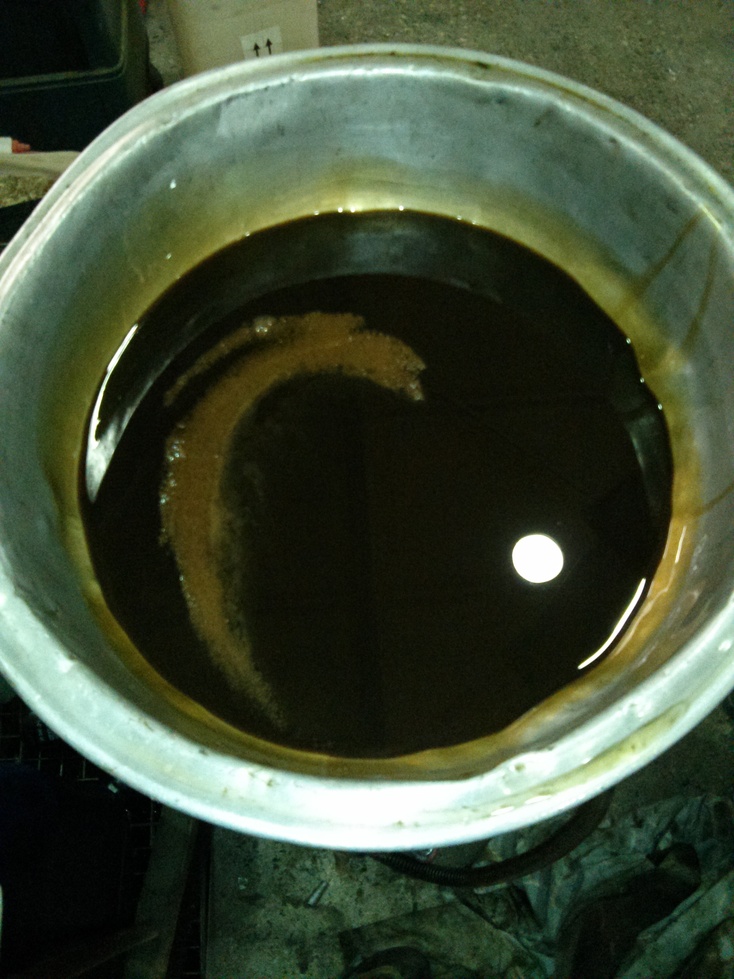
The change of the gearbox and differential oil did not show any unusual signs of metal wear and tear. The gearbox had too much oil in it, the differential was missing at least a cm of oil level. Let’s hope that was the reason for the high pitched noise it makes in 5th gear. I’ll find out today…
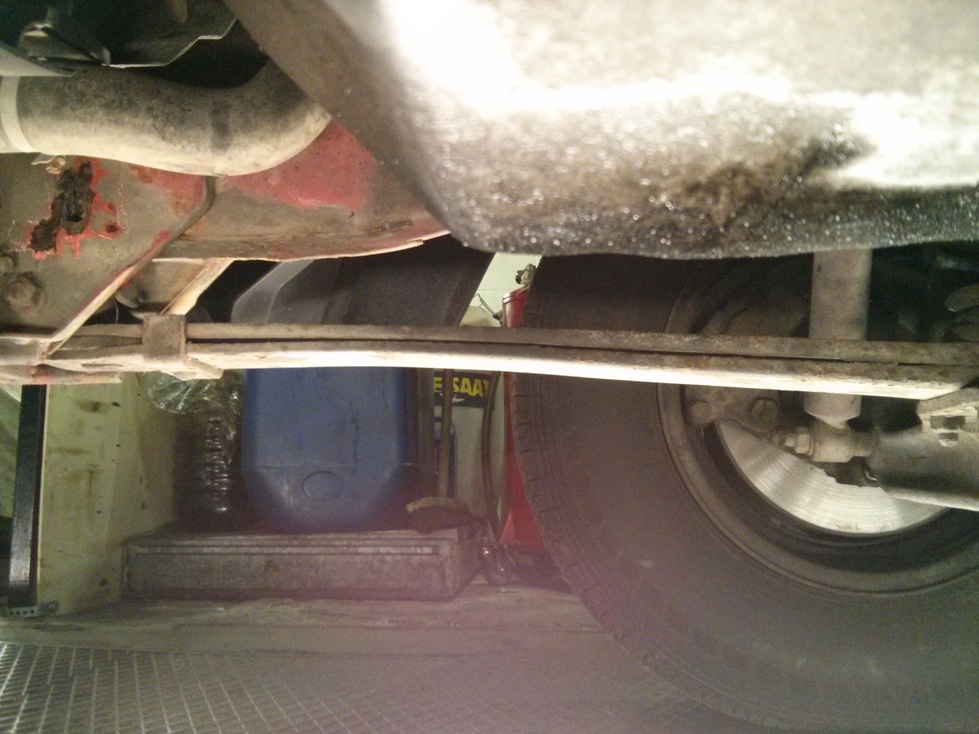
The next big step will be taking care of the leave springs.
Stuff I haven’t seen before #1
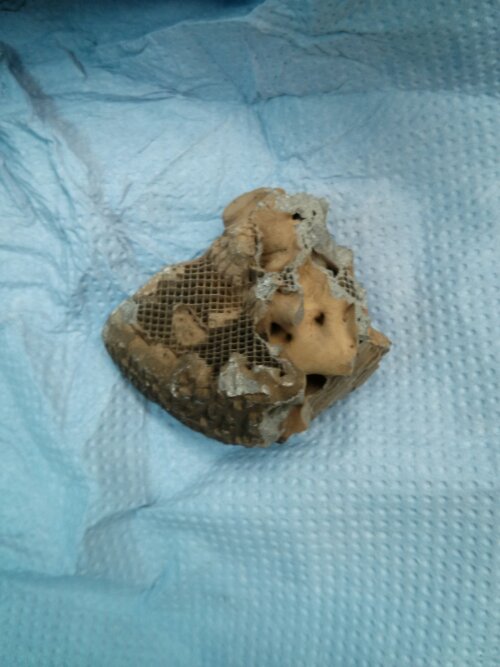
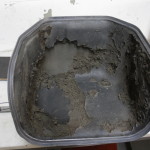
This is a piece of a catalytic converter (KAT in German) of an Mazda RX8. It wasn’t starting probably so fuel got into the exhaust system and the hot engine which wouldn’t start acted like a blast furnace producing the 1000+ degrees Celsius to actually melt the ceramics. It was really spewing out big chunks of this stuff from the exhaust system. Luckily nobody got hurt…
Travel Vehicle Try #2
It still needs a name…..

